I've finally edited the performance scenes. In After Effects CS6, using the 'Keylight 1.2' effect, I removed the green screen from the desired performance clips I wanted to use.

In some clips, a silhouette effect was created using the 'curves' effect. If the bottom left point of the line in the graph is moved up, the black background remains black but the person in the shot is turned into matte white.

If the background is white, the top right point of the line is moved down to turn the person in the frame into matte black.

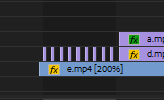
These clips were then imported into Adobe Premiere Pro CC 2018. I removed the background of some clips that required it using masking.


By cutting the clip at many points or masking funky shapes in the clip, I tried to add deviation in the effects and animations I was creating.


In one place, I tried a unique approach. Firstly, I masked out the unwanted background from the clip.


Then using color key effect I removed the background that was right behind Sheece. Since the color of the background and the clothes of Sheece were somewhat similar, the effect removed part of his clothes as well. The small blocks that were removed gave the desired digital effect.

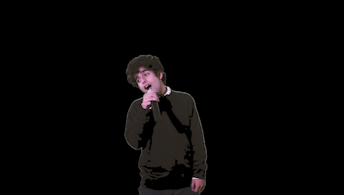
Furthermore, I added the tint effect to make Sheece matte white.

The clip was duplicated twice and the two bottom clips slightly displaced towards the left.

Then, the colors in the tint effect of the bottom clips were changed to red and blue respectively. This created a colorful trail effect.


I added a glitch overlay at different points to make the performance part look more visually appealing. I noticed how the same blending mode of the glitch overlay produced a different effect on the black and white silhouette and the white and black silhouette. Thereafter, I manipulated that to add variety.


Comments
Post a Comment